Little Debbie Christmas Tree Cake Recipe at Home
Winter’s chill brings the scent of pine and cinnamon, reminding me of the holiday season. The Little Debbie Christmas Tree Cakes were a big part of my childhood. They were a special treat that brought joy and memories of family gatherings.
Now, I’m excited to share a homemade version of this classic. You can make these cakes in your kitchen, bringing back those nostalgic flavors and textures.
Key Takeaways
- Recreate the iconic Little Debbie Christmas Tree Cakes at home with a simple, homemade recipe
- Indulge in a fluffy sponge cake, gooey marshmallow filling, and a decadent white chocolate coating
- Perfect for holiday parties, gatherings, and satisfying sweet cravings throughout the season
- Enjoy the nostalgic flavors and festive charm of this beloved holiday treat
- Customize the cakes with your own creative decorations and personal touches
Table of Contents
Introduction to Little Debbie Christmas Tree Cakes
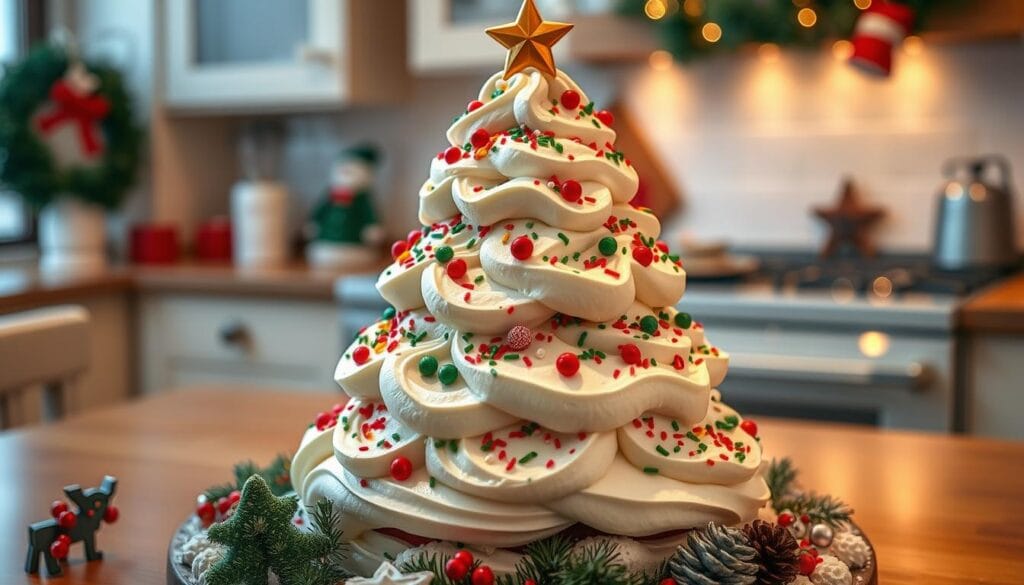
The Little Debbie Christmas Tree Cakes have been a holiday favorite since the 1980s. They have a tree shape, creamy filling, white coating, and festive decorations. This homemade recipe lets you make a special holiday dessert with your own flavors and ingredients.
What Makes This Cake Special?
The Little Debbie Christmas Tree Cakes are special because of their unique flavors and textures. The cake is light and moist, with a rich filling. The sweet white coating and bright decorations make them a festive treat. Making them at home means you can use the best ingredients for a better taste.
A Brief History of Little Debbie Cakes
The Little Debbie brand has been around for decades, loved by many for its snack cakes. Founded in 1928 by O.D. McKee, the Christmas Tree Cakes were introduced in the 1980s. They quickly became a favorite during the holidays. Today, Little Debbie is known for its wide range of tasty treats that bring joy to families.
“The Little Debbie Christmas Tree Cakes are a cherished part of the holiday season, evoking memories of cozy gatherings, warm laughter, and the simple pleasures that make this time of year so special.”
Ingredients Needed for the Recipe
To make the perfect homemade Little Debbie Christmas Tree Cake, you need some key baking ingredients and optional decorations. Let’s explore what you’ll need to create this festive treat at home.
Essential Baking Ingredients
- 3 cups of cake flour
- 1 tablespoon of baking powder
- 1 cup (2 sticks) of unsalted butter, softened
- 1¾ cup of granulated sugar
- 3 large eggs and 2 large egg whites
- 1¼ cups of buttermilk
- 2 teaspoons of vanilla extract
- ½ cup of softened unsalted butter for the marshmallow filling
- 1 cup of marshmallow fluff
- 3 cups of powdered sugar for the marshmallow filling
Optional Decoration Items
To add a festive touch to your homemade Little Debbie Christmas Tree Cakes, consider these decorations:
- 24 ounces of white chocolate or almond bark for the white chocolate coating
- 4 tablespoons of coconut oil or non-flavored oil for smoothing the chocolate coating
- Green sprinkles for a Christmas tree-inspired look
- Red food coloring or candy melts for creating holly berries on the cakes
With these ingredients and decorations, you’re all set to make your own christmas cake ingredients and holiday baking supplies at home. Now, let’s prepare the cake batter!
Preparing the Cake Batter
Get ready to make your homemade Christmas tree cakes. This step is key to a moist and tasty dessert.
Mixing the Dry Ingredients
Begin by mixing dry ingredients in a bowl. Whisk together cake flour, baking powder, and salt. These ingredients help your cake rise and give it structure.
Adding Wet Ingredients
In another bowl, mix butter, sugar, and oil until fluffy. Add eggs and vanilla extract and mix well. Then, add the dry ingredients and buttermilk to the wet ingredients. Stir gently until smooth. Avoid overmixing to keep the cake soft.
| Ingredient | Amount |
|---|---|
| Cake flour | 13.25 oz |
| Baking powder | 1 tsp |
| Salt | 1/2 tsp |
| Unsalted butter | 1/2 cup (1 stick) |
| Granulated sugar | 1 cup |
| Vegetable oil | 1/4 cup |
| Eggs | 4 large (3 full eggs + 1 egg yolk) |
| Vanilla extract | 2 tsp |
| Buttermilk | 1 cup |
Now that your cake batter is ready, you can bake and shape your Christmas tree cakes.
Baking the Christmas Tree Cake
Creating the perfect homemade Little Debbie Christmas Tree Cakes starts with mastering the baking process. To ensure your cakes turn out moist, fluffy, and ready for shaping, follow these essential tips.
Determining the Baking Time
Preheat your oven to 350°F. Pour the prepared cake batter into a greased and floured sheet pan, spreading it evenly. Bake the cakes for 35-40 minutes, or until a toothpick inserted into the center comes out clean. The cakes should be a lovely golden brown when done.
Cooling the Cakes Properly
- Allow the cakes to cool completely in the pan before attempting to remove them. This step is crucial to prevent the delicate cakes from crumbling.
- For easier handling and shaping, place the cooled cakes in the refrigerator for 15-20 minutes. The chilled cakes will be more stable and less prone to breaking.
Taking the time to properly bake and cool your Christmas Tree Cakes will ensure a sturdy foundation for the next steps of shaping and decorating. With a little patience, you’ll be on your way to creating a festive and delicious homemade treat.
Creating the Christmas Tree Shape
Making the iconic Christmas tree shape is key to capturing the festive spirit of your homemade Little Debbie-inspired cakes. With the right tools and techniques, you can easily create picture-perfect tree-shaped treats. These treats will delight family and friends.
Tools Needed for Shaping
- A tree-shaped cookie cutter or sharp serrated knife for hand-cutting the shapes
- A chilled cake to ensure clean, crisp cuts
- A cutting board or other flat surface to work on
Tips for Perfectly Shaped Trees
- If using a cookie cutter, gently press it into the chilled cake and lift to release the tree shape.
- For hand-cutting, use a serrated knife to carefully slice the cake into tree-like triangles, working slowly and steadily.
- Cut each tree shape in half horizontally to create two layers, making it easier to fill and frost your cakes.
- Ensure the cake is well-chilled before cutting to achieve the cleanest, sharpest edges on your christmas tree shaped cakes.
With a little practice, you’ll be a pro at cake cutting techniques and creating those festive Christmas tree shapes. The joy is in the details, so take your time and have fun with the process.
Making the Frosting
No Christmas tree cake is complete without the perfect frosting. You can choose between cream cheese frosting or marshmallow buttercream. Both are delicious, so pick the one you like best.
Ingredients for the Frosting
For cream cheese frosting, you need softened cream cheese, unsalted butter, powdered sugar, and vanilla extract. Marshmallow buttercream requires softened butter, marshmallow fluff, powdered sugar, and heavy cream.
Tips for Achieving the Right Texture
- Make sure all your ingredients are at room temperature before you begin mixing. This will help ensure a smooth, creamy texture.
- Beat the butter and cream cheese (or marshmallow fluff) until light and fluffy, about 3-5 minutes, before gradually adding the powdered sugar.
- Gradually add the powdered sugar, beating well after each addition, to prevent the frosting from becoming too thick or gritty.
- If the frosting seems too thick, add a tablespoon or two of heavy cream (for the marshmallow buttercream) or milk (for the cream cheese frosting) and beat until you achieve the desired consistency.
- Reserve a small portion of the frosting and tint it with red food coloring to use for decorating the tops of your Christmas tree cakes.

With these tips, you’ll make a rich, creamy frosting that’s perfect for Christmas tree cakes. Whether you choose cream cheese frosting or marshmallow buttercream, your holiday treats will be a hit!
Decorating Your Christmas Tree Cakes
After baking and cooling your homemade Little Debbie Christmas Tree Cakes, it’s time to decorate. With a bit of creativity, you can turn these simple cakes into stunning holiday treats. Let’s look at some fun decoration ideas and creative ways to use sprinkles to make your cakes shine.
Fun Decoration Ideas
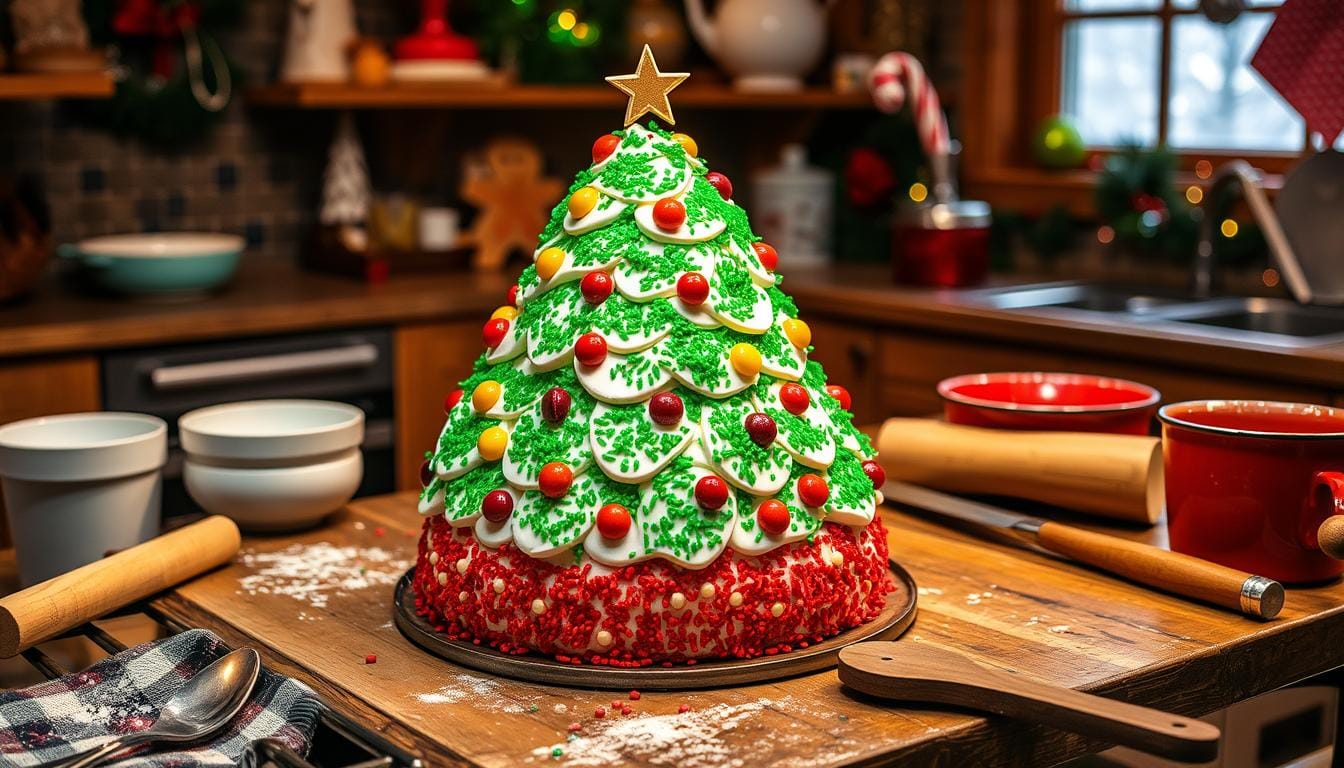
Begin by dipping the cakes in melted white chocolate for a shiny, snow-like effect. Use a fork to lift the cakes from the chocolate, tapping off any extra. While the chocolate is still wet, sprinkle vibrant green sanding sugar on top to look like a Christmas tree.
For a festive touch, pipe red frosting in a zigzag pattern. This will look like garland draped across the cake.
Creative Ways to Use Sprinkles
- Go bold with a rainbow of sprinkles, covering the cakes in a colorful confetti-like display.
- Arrange sprinkles in geometric patterns, such as chevrons or stripes, for a modern, eye-catching design.
- Use a variety of sprinkle shapes, including stars, snowflakes, or miniature ornaments, to add depth and texture to your Christmas Tree Cakes.
- Experiment with different sprinkle colors and combinations to create unique and personalized designs for your holiday desserts.
With a little creativity and holiday spirit, your homemade Little Debbie Christmas Tree Cakes can be the highlight of your holiday. Use your favorite cake decorating techniques and christmas cake designs to let your imagination run wild!
Storing Leftovers
Baking Copycat Little Debbie® Christmas Tree Cakes at home is rewarding. But, what about leftovers? Storing them right is crucial to keep them fresh and tasty. Here are some easy tips to keep your holiday treats perfect.
Best Ways to Store Cake
Store your Copycat Little Debbie® Christmas Tree Cakes in an airtight container at room temperature for up to 2 days. For longer storage, refrigerate them. They’ll stay moist and delicious for up to a week. If you want to keep them even longer, freeze them. They can be frozen for up to a month with proper wrapping.
When storing, place parchment paper between each cake layer. This prevents them from sticking together. It makes it easy to grab a cake when you want one.
How Long Does It Last?
With the right storage, your Copycat Little Debbie® Christmas Tree Cakes stay fresh for a long time. At room temperature, they last up to 2 days. Refrigeration extends their life to about a week. Freezing them for up to a month lets you enjoy them long after the holiday season.
By using these cake storage tips, your homemade Copycat Little Debbie® Christmas Tree Cakes will stay perfect. They’ll be a delightful treat for you and your loved ones to enjoy.
Serving Suggestions
Little Debbie Christmas Tree Cakes are a favorite holiday treat. They can be enjoyed in many ways. Whether at a festive party or just enjoying the season, these cakes are sure to impress.
Perfect Pairings for Christmas Tree Cakes
For a cozy treat, pair your Christmas Tree Cakes with hot cocoa or cold milk. The chocolatey taste of the cakes goes well with these holiday drinks.
Fun Serving Ideas for Parties
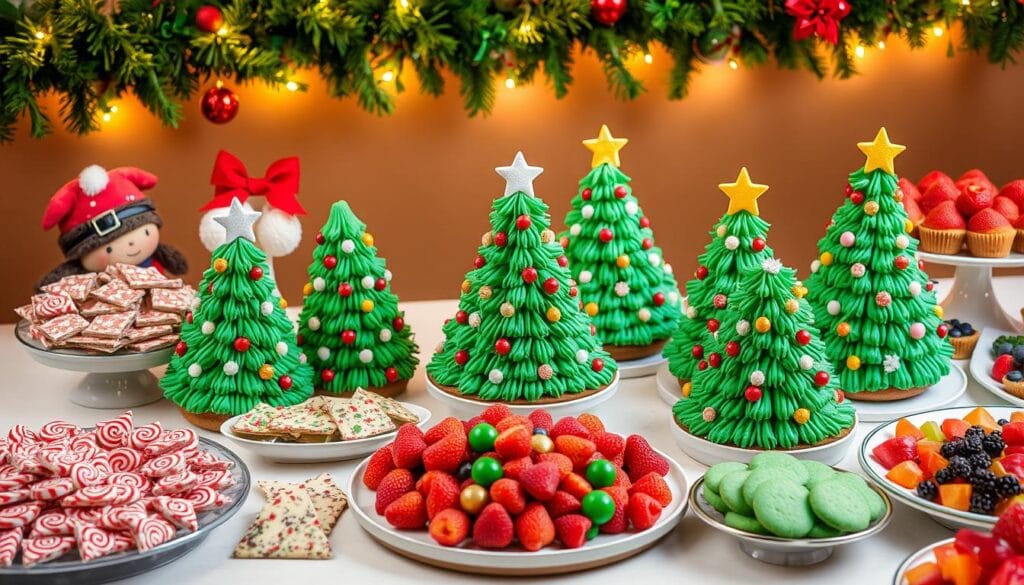
- Make a stunning dessert platter with Christmas Tree Cakes and other festive treats like peppermint bark and gingerbread cookies.
- Use the cakes as decorations on a big cake, like a Yule log, for a wow-worthy look.
- Put the cakes in a holiday table centerpiece with evergreen sprigs and pinecones for a festive touch.
However you serve your homemade Christmas Tree Cakes, they’ll make your guests happy and add to the holiday cheer.
| Holiday Dessert Pairings | Christmas Party Treats |
|---|---|
|
|

Common Mistakes to Avoid
When baking Little Debbie Christmas Tree Cakes at home, watch out for a few common mistakes. Overmixing the batter and not letting the cakes cool properly are big no-nos. These errors can turn a tasty holiday treat into a letdown.
Overmixing the Batter
One key baking tip is to avoid overmixing the batter. Doing so can make the cakes tough and dense. Instead, mix the ingredients just until they’re combined. This helps keep the cake’s light, fluffy texture.
Not Allowing Cakes to Cool
Another mistake is not letting the cakes cool before frosting or chocolate coating. Warm cakes can cause the frosting or chocolate to melt and become messy. Always let the cakes cool to room temperature before decorating.
By avoiding these mistakes, you can make sure your homemade Little Debbie Christmas Tree Cakes are perfect. They’ll be a hit with your friends and family during the holidays.
Variations on the Classic Recipe
The traditional Little Debbie Christmas Tree Cake is a holiday favorite. But, you don’t have to stick to the original. Explore gluten-free desserts and unique flavors to make your own version.
Gluten-Free Christmas Tree Cakes
Want to make the Little Debbie Christmas Tree Cake gluten-free? Just swap the all-purpose flour for a gluten-free blend. This way, everyone can enjoy the festive taste without worrying about gluten.
Unique Flavor Combinations
Try new flavors like peppermint, almond, or chocolate in your Christmas Tree Cakes. You can also decorate them with colored candy melts or crushed candy canes for a fun touch.
Reinventing the Little Debbie Christmas Tree Cake is fun. With a bit of creativity, you can make gluten-free desserts and unique flavors. Your friends and family will love them all season.
Conclusion: Enjoying Your Homemade Christmas Tree Cakes
Baking Little Debbie Christmas Tree Cakes can become a special holiday tradition. Get your family involved in decorating for a fun activity that makes memories. Share the cakes with neighbors, coworkers, or in holiday gift baskets to spread joy.
Sharing with Friends and Family
These homemade Christmas Tree Cakes are perfect for holiday gatherings. Display them on a beautiful platter to show off your baking. Let everyone decorate their own cake with holiday sprinkles.
This activity brings smiles and laughter. It’s a great way to bond over festive desserts.
The Joy of Baking Together
Baking Christmas Tree Cakes is a fun family activity. Get your kids or grandkids to help with mixing, shaping, and decorating. This creates memories and teaches them to love holiday baking.
Enjoy making something special and sharing it with your loved ones. It’s a joyous way to spend time together.

