Delicious Cherry Pie Recipe: Easy Homemade Dessert
Table of Contents
The smell of a freshly baked cherry pie is incredibly comforting. It brings back memories of summer gatherings at my grandmother’s house. Every time I slice into the flaky crust, I’m hit with the sweet and tart flavors.
This homemade cherry pie recipe is perfect for anyone. Whether you’re an experienced baker or just starting out, it’s sure to bring back memories. It’s a taste of simpler times that will leave you wanting more.
Introduction to Homemade Cherry Pie
Cherry pie is a classic dessert loved by many. It’s especially great in summer when cherries are fresh. Making it from scratch lets you use the best ingredients for a delicious treat.
The Perfect Summer Treat
Homemade cherry pie is the ultimate summer dessert. Baking it from scratch is a fun and rewarding experience. You get to enjoy the smell of cherries and a flaky crust in your kitchen.
Whether you use fresh, frozen, or canned cherries, the result is amazing. You get a sweet-tart filling in a golden-brown crust.
Benefits of Making It From Scratch
- Control the sweetness level to your preference
- Use high-quality, fresh or frozen cherries for optimal flavor
- Create a flakier, more flavorful crust compared to store-bought options
- Customize the recipe to your liking, such as adding a touch of almond extract or cinnamon
- Enjoy the satisfaction of baking a homemade classic recipe from scratch
Homemade cherry pie is a timeless, classic recipe that’s perfect for summer’s fruit pies. It’s great for both seasoned bakers and beginners. Making a homemade cherry pie is a rewarding experience.
“There’s nothing quite like the aroma of a freshly baked homemade cherry pie cooling on the counter, its vibrant red filling peeking through the golden crust.” – Baking Enthusiast
Ingredients Needed for Cherry Pie Recipe
To make this tasty homemade cherry pie, you’ll need a few important ingredients. Cherries are the main attraction, and you can use either fresh or frozen ones. If you choose fresh cherries, you’ll need to remove the pits and cut them into quarters. This will give you about 6 cups of cherries ready to go.
If you’re using frozen cherries, just thaw them and drain off any extra liquid. This makes them perfect for the filling.
For the pie crust, you can either buy one or make your own. The homemade crust uses a mix of butter and shortening. This combination makes the crust flaky and tender, which pairs well with the cherry filling.
Fresh or Frozen Cherries
The recipe asks for 6 cups of pitted and quartered fresh tart cherries or 6 cups of thawed and drained frozen tart cherries. Tart cherries are the best choice because of their bright, tangy taste. This flavor complements the sweetness of the filling nicely.
Pie Crust Ingredients
For the homemade pie crust, you’ll need:
- 2 1/2 cups all-purpose flour
- 1 teaspoon salt
- 3/4 cup unsalted butter, chilled and cubed
- 1/4 cup shortening, chilled
- 6-8 tablespoons ice water
If you’d rather use a store-bought crust, pick a high-quality one. It should bake up flaky and delicious.
With these ingredients, you’re ready to make a homemade cherry pie. It’s sure to wow your family and friends.
Preparing the Homemade Pie Crust
Making a delicious homemade pie crust is key to this tasty cherry pie recipe. The pie dough needs to chill for at least 2 hours before you roll it out. Using a mix of butter and shortening makes the crust flaky and tender.
Once the dough is chilled, it’s time to roll it out. Make sure your work surface is lightly floured. Use a rolling pin to make a circle big enough for a 9-inch pie dish. Place the bottom crust in the dish, pressing it into the sides and edges.
Trim any extra dough, leaving a bit over the rim of the pie plate.
| Nutritional Information (per serving) | Amount |
|---|---|
| Calories | 247 |
| Carbohydrates | 29g |
| Protein | 10g |
| Fat | 2g |
| Saturated Fat | 1g |
| Sodium | 284mg |
| Fiber | 19g |
| Sugar | 22g |
| Vitamin A | 34IU |
| Vitamin C | 12mg |
| Calcium | 124mg |
| Iron | 4mg |
Now that the bottom crust is in, you’re ready to fill the pie and finish your homemade cherry pie. The secret to a flaky crust is the right mix of ingredients and chilling it right. Follow these steps for a delicious cherry pie from scratch.
Making the Cherry Pie Filling
The heart of a delicious cherry pie is the flavorful filling. Making it from scratch is easier than you might think. Start by carefully pitting and quartering the fresh cherries.
This can be a time-consuming task, but using a cherry pitter makes it quicker. Once the cherries are prepped, mix them with the remaining ingredients. This creates the perfect cherry pie filling.
Pitting and Quartering the Cherries
Begin by rinsing the fresh cherries and patting them dry. Use a cherry pitter or a sharp knife to remove the pits. Then, quarter the pitted cherries to create evenly sized pieces.
This step ensures a satisfying texture in the final cherry pie.
Sugar, Cornstarch, and Flavorings
In a large bowl, combine the pitted and quartered cherries with granulated sugar, cornstarch, lemon juice, vanilla extract, and almond extract. The sugar draws out the natural juices from the cherries.
The cornstarch thickens the filling, making it deliciously thickened. The lemon juice, vanilla, and almond extracts add depth of flavor, enhancing the cherry taste.
| Nutrition Facts | Per Serving |
|---|---|
| Servings | 16 servings, about 4 cups |
| Calories | 61kcal |
| Carbohydrates | 16g |
| Protein | 0.4g |
| Fat | 0.1g |
| Saturated Fat | 0.01g |
| Polyunsaturated Fat | 0.02g |
| Monounsaturated Fat | 0.02g |
| Sodium | 1mg |
| Potassium | 77mg |
| Fiber | 1g |
| Sugar | 13g |
| Vitamin A | 22IU |
| Vitamin C | 2mg |
| Calcium | 5mg |
| Iron | 0.1mg |
With the cherry pie filling prepared, you’re one step closer to enjoying a homemade cherry pie that’s bursting with flavor. The next step is assembling the pie and baking it to perfection.
Assembling the cherry pie recipe
Now that you’ve made the homemade pie dough and the cherry pie filling, it’s time to put them together. Assembling a cherry pie is easy and fun. It lets you show off your baking skills.
Begin by rolling out the bottom pie crust. Place it in a 9-inch pie plate. Press the dough into the plate’s bottom and sides, making sure it’s even. Layering the pie filling comes next – fill the crust with the cherry mixture, leaving some juice behind. This keeps the crust from getting soggy.
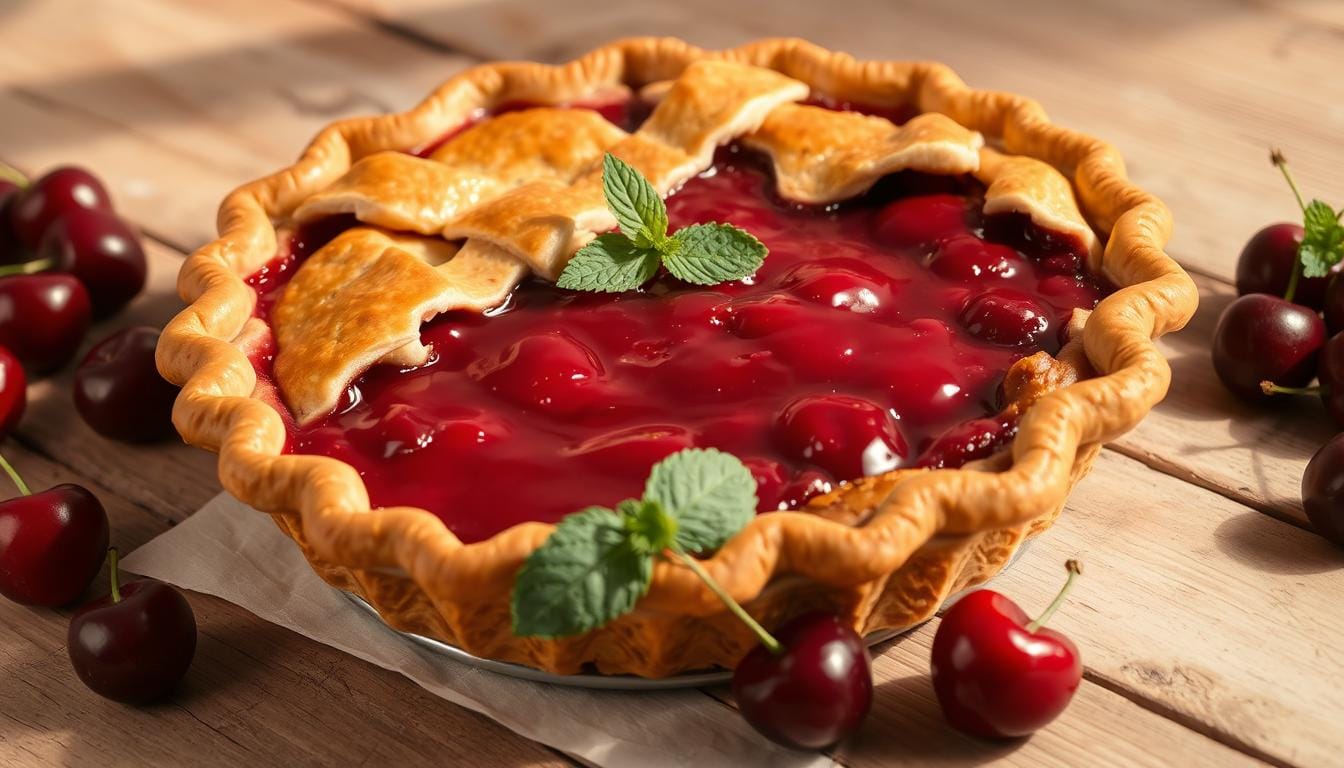
Next, add the top crust. You can make a solid sheet or a lattice pattern. For a lattice top, cut the dough into strips and weave them over the filling. Assembling the cherry pie is a fun way to be creative.
Don’t forget to dot the top with butter cubes. This makes the pie richer and keeps the filling from overflowing. Finally, crimp or flute the crust edges to seal in the filling.
Now, your cherry pie is ready to bake. Follow the recipe for the best oven temperature and baking time. This ensures a golden crust and a set filling. Remember, the pie needs to cool completely before you can slice and serve it.
Baking Tips for Perfect Cherry Pie
Baking a perfect cherry pie needs a few key steps. First, make sure your oven is at 400°F. This high heat helps the crust set and prevents the filling from being too runny.
After putting the pie in, lower the oven to 375°F. This keeps the crust from getting too dark while the filling thickens. Bake it for about 1 hour, until the filling bubbles and the crust is golden.
Cooling and Setting the Filling
Be patient after taking the pie out of the oven. Let it cool completely, which takes 4 hours or more. This step is important for the filling to set right, giving it that perfect cherry pie texture.

“The secret to the perfect cherry pie is all in the baking technique. Getting the temperature right and allowing ample cooling time ensures a beautifully set filling every time.”
With these tips, you’re ready to make a stunning cherry pie. So, preheat your oven, pick your cherries, and start baking!
Decorative Pie Crust Techniques
Make your homemade cherry pie stand out with different pie crust designs. You can go for a classic lattice top crust or try out fancy edgings. The crust is your chance to show off your baking talent.
Lattice or Solid Top Crust
The lattice top crust is a timeless choice. It’s made by weaving dough strips over the cherry filling. This lets the fruit show through and adds a rustic charm. Or, you can choose a solid top crust and make slits for steam to escape.
Crimping and Decorating the Edges
Enhance your pie crust edges with various crimping and decorating methods. Use your fingers or a fork to make fluted or scalloped edges. This adds a touch of elegance. You can also sprinkle coarse sugar or brush with egg wash for a shiny finish.
Try out many pie crust designs to make your cherry pie a hit at any gathering. Whether you prefer traditional or innovative designs, the crust is your canvas to express your baking artistry.
Serving and Storing Cherry Pie
Once your homemade cherry pie cools down, it’s time to slice and serve. The mix of sweet cherries and flaky crust is a treat. Enjoy it as dessert or an afternoon snack, and it will hit the spot.
There are ways to keep your pie fresh. You can store it at room temperature, covered, for 2 days. Or, refrigerate it for up to 5 days. For freezing, wrap it in plastic and foil for up to 3 months. Thaw it in the fridge overnight before serving.
Adding vanilla ice cream or whipped cream is a great touch. It makes every bite of this summer dessert special.
| Storing Method | Maximum Storage Time |
|---|---|
| Room Temperature (Covered) | 2 days |
| Refrigerator | 5 days |
| Freezer (Wrapped Tightly) | 3 months |

Follow these tips to keep your pie fresh and tasty. Enjoy every bite of this classic summer treat!
Cherry Pie Recipe Variations
The classic cherry pie recipe is loved by many, but there are many tasty variations to try. You can use different cherries, add unique flavors, and mix textures. This makes it easy to reinvent this favorite dessert.
Using a mix of sweet and tart cherries in the filling is a great twist. It creates a perfect balance of flavors. Cooking down some cherry juices can make the filling thicker and more intense.
Try using a crumble topping instead of a traditional crust for a crunchy contrast. Or, make cherry pie bars to skip the dough altogether.
Don’t forget to get creative with how you present your pie. A lattice-topped pie or hand pies with fancy crimping can look amazing. You can also try a skillet cobbler or a strudel-style roll-up for different shapes and ways to serve.
When trying out different cherry pie variations, focus on using fresh, high-quality ingredients. Bold flavors can take this classic dessert to new heights with a little experimentation.
| Variation | Description | Ingredients |
|---|---|---|
| Sweet and Tart Cherry Pie | Combines sweet Bing cherries with tart Montmorency cherries for a balanced flavor profile. | Bing cherries, Montmorency cherries, sugar, cornstarch, lemon juice. |
| Cherry Crumble Pie | Features a crunchy, buttery crumble topping instead of a traditional pie crust. | Cherries, flour, brown sugar, oats, butter, cinnamon. |
| Cherry Pie Bars | Bakes the cherry filling into a pan and cuts into bars, eliminating the need for pie dough. | Cherries, sugar, cornstarch, pie crust or cookie dough. |
These are just a few ideas for cherry pie variations. Whether you prefer a classic double-crust pie or something new, there’s a world of fruit pie recipes to explore.
Conclusion
Homemade cherry pie is a delicious treat for any time. It has a thick, flavorful filling and a flaky crust. Making it from scratch lets you choose the best ingredients and flavors.
Creating a homemade cherry pie takes patience and care. It will wow your family and friends. Serve it with vanilla ice cream or alone, it’s a classic American dessert that’s hard to resist.
So, get your ingredients ready and start baking a homemade cherry pie that feels like summer. Our baking tips and recipe ideas will help you make a dessert perfect for any occasion. Enjoy the sweet and tart taste of this timeless classic American dessert!

