Easy Apple Pie Recipe with Premade Crust | Quick & Delicious
Table of Contents
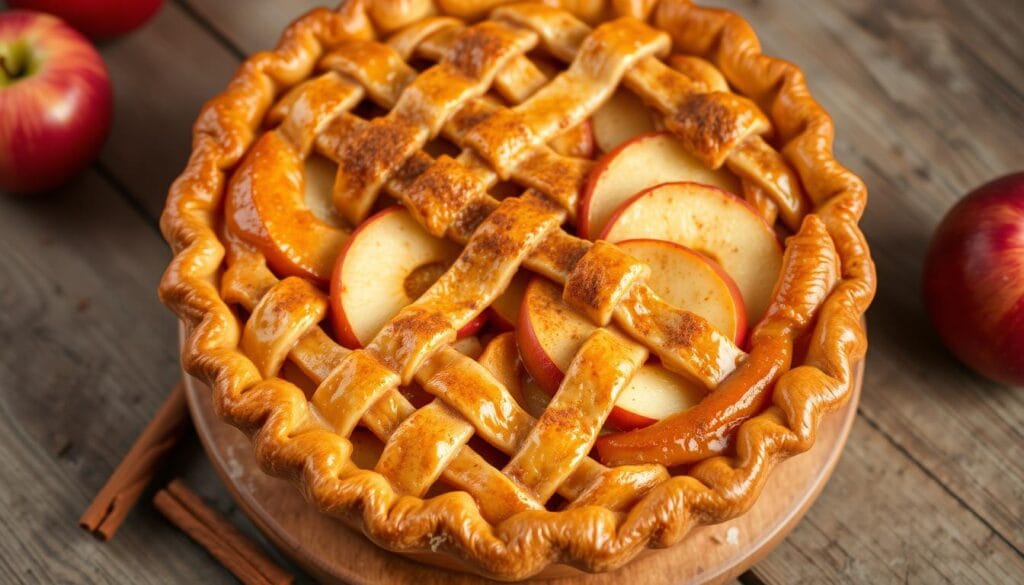
As autumn arrives, I think back to the smell of apple pie in my kitchen. My grandmother’s pie was a special tradition. But making the crust was hard, until I found a premade crust for an easy apple pie recipe.
This article will guide you through a simple apple pie recipe with premade crust. It’s perfect for anyone who loves baking. The crust is flaky, and the apples are spiced just right. Your family will love it.

Why Choose a Premade Crust for Your Apple Pie
Baking an apple pie can be tough, especially the crust. But, using a ready-made pie crust is a smart move. It saves time and effort, making it great for both new and experienced bakers.
Benefits of Store-Bought Pie Crusts
Ready-made crusts offer consistent quality. They give your apple pie a flaky, golden-brown look. This is perfect for those who struggle with homemade pie dough.
Time-Saving Advantages
Using a premade crust saves a lot of time. Making homemade pie dough can take hours. With a premade crust, you can focus on the filling, saving you time.
Consistency in Results
Consistency is crucial in baking. Premade pie crusts ensure your apple pie is always delicious. They’re great for both new and seasoned bakers.
In short, choosing a premade crust is a wise choice. It’s a quick way to make a homemade-tasting apple pie. With its consistent quality and reliable results, it’s perfect for all bakers.
Essential Ingredients for Your Perfect Apple Pie
Making a delicious apple pie starts with the right ingredients. For this easy recipe, you’ll need a few key components. These will help you get the perfect balance of flavors and textures. Let’s explore the essential ingredients for your homemade apple pie:
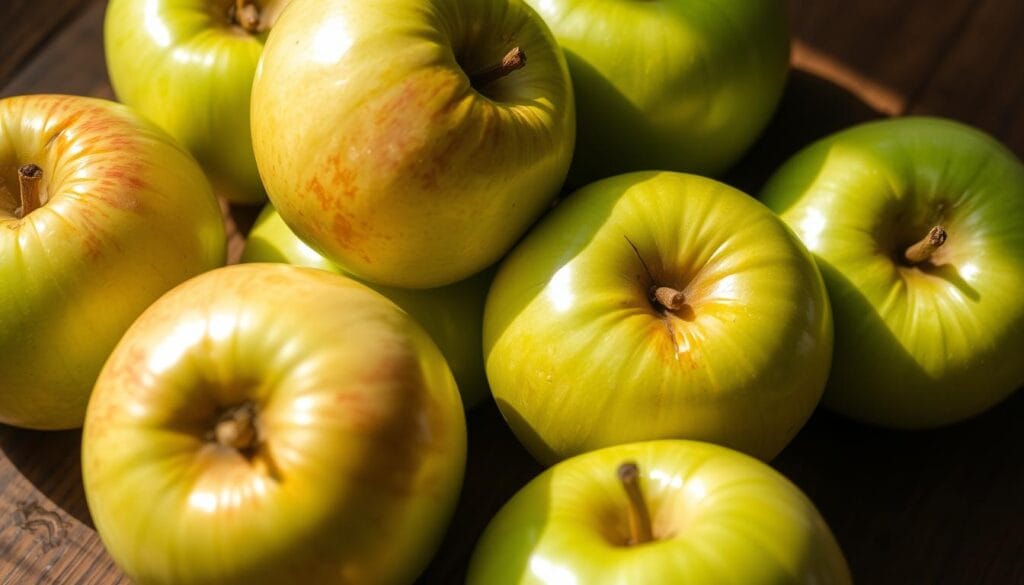
- 10 whole Granny Smith apples, cored and cut into wedges
- 14.1 ounces of pre-made pie crusts (one box containing 2 crusts)
- 1/4 cup of all-purpose flour
- 1 teaspoon of ground cinnamon
- 1/2 teaspoon of ground nutmeg
- 1/2 tablespoon of fresh lemon juice
- 1/2 cup of white sugar
- 1/3 cup of light brown sugar
- 3 tablespoons of cubed butter
- 1 whisked egg for the egg wash
The mix of tart Granny Smith apples, warm spices, and sweetness is perfect. Paired with a flaky, pre-made crust, you’re on your way to baking a delicious apple pie.
| Ingredient | Quantity |
|---|---|
| Granny Smith Apples | 10 whole |
| Pre-made Pie Crusts | 14.1 ounces (1 box with 2 crusts) |
| All-purpose Flour | 1/4 cup |
| Ground Cinnamon | 1 teaspoon |
| Ground Nutmeg | 1/2 teaspoon |
| Fresh Lemon Juice | 1/2 tablespoon |
| White Sugar | 1/2 cup |
| Light Brown Sugar | 1/3 cup |
| Cubed Butter | 3 tablespoons |
| Whisked Egg (for egg wash) | 1 |
The secret to a perfect apple pie is using high-quality ingredients. Make sure to choose the best Granny Smith apples and top-notch pre-made pie crusts for your masterpiece.
Equipment and Tools Needed for Baking
To bake the perfect apple pie, you need the right tools. This includes essential baking items and some optional gadgets. Let’s look at what you’ll need to make this tasty dessert.
Must-Have Baking Tools
- 9.5-inch pie plate
- Vegetable peeler
- Sharp knife and cutting board
- Mixing bowl
- Pastry brush
Optional but Helpful Equipment
There are a few extra tools that can make baking your apple pie easier:
- Rolling pin for preparing the pie crust
- Apple corer or melon baller for efficiently coring and slicing the apples
- Pie weights or dried beans to help blind-bake the crust
Pie Shield Importance
The pie shield is a must-have tool. It’s a silicone ring that goes on top of the pie crust while it bakes. It prevents the edges from getting too brown or burnt. This tool is key for a perfectly golden crust every time.
| Baking Equipment | Quantity Needed |
|---|---|
| Pie Plate | 1 (9.5-inch) |
| Vegetable Peeler | 1 |
| Sharp Knife | 1 |
| Cutting Board | 1 |
| Mixing Bowl | 1 |
| Pastry Brush | 1 |
| Rolling Pin | 1 (optional) |
| Apple Corer/Melon Baller | 1 (optional) |
| Pie Weights/Dried Beans | Enough to fill the pie crust (optional) |
| Pie Shield | 1 (highly recommended) |
How to Prepare Granny Smith Apples for Filling
Choosing the right apples is key for a great apple pie. Granny Smith apples are a top pick. They are tart and crisp, adding a rich flavor to the filling.
To get your Granny Smith apples ready for the pie, just follow these easy steps:
- Peel the apples with a sharp peeler. This makes the filling smooth and even.
- Slice the apples thinly, about 1/4-inch thick. A mandoline slicer helps get slices that are the same size.
- Cut the slices from top to bottom, almost to the core. This makes them thin and crescent-shaped.
- Make sure the slices are not too thick. This helps the pie bake evenly and prevents a chunky texture.
Thin, even apple slices are important for a delicious pie. They cook well and give a soft, melt-in-your-mouth texture. By preparing the Granny Smith apples right, you’ll make a fantastic apple pie filling.
“The key to a great apple pie is in the preparation of the apples. Thin, uniform slices are essential for achieving the perfect texture and flavor.”

| Ingredient | Quantity |
|---|---|
| Granny Smith apples | 5 lbs. |
| Granulated sugar | 3/4 cup |
| All-purpose flour | 1/4 cup |
| Light brown sugar | 1/2 cup |
| Ground cinnamon | 1 tsp. |
| Ground nutmeg | 1/4 tsp. |
| Kosher salt | 1/2 tsp. |
| Unsalted butter | 3 Tbsp. |
Apple Pie Recipe with Premade Crust: Step-by-Step Guide
Baking an apple pie with a premade crust is quick and easy. This guide will help you make a delicious apple pie recipe. It’s sure to make your taste buds happy.
Preparing the Crust
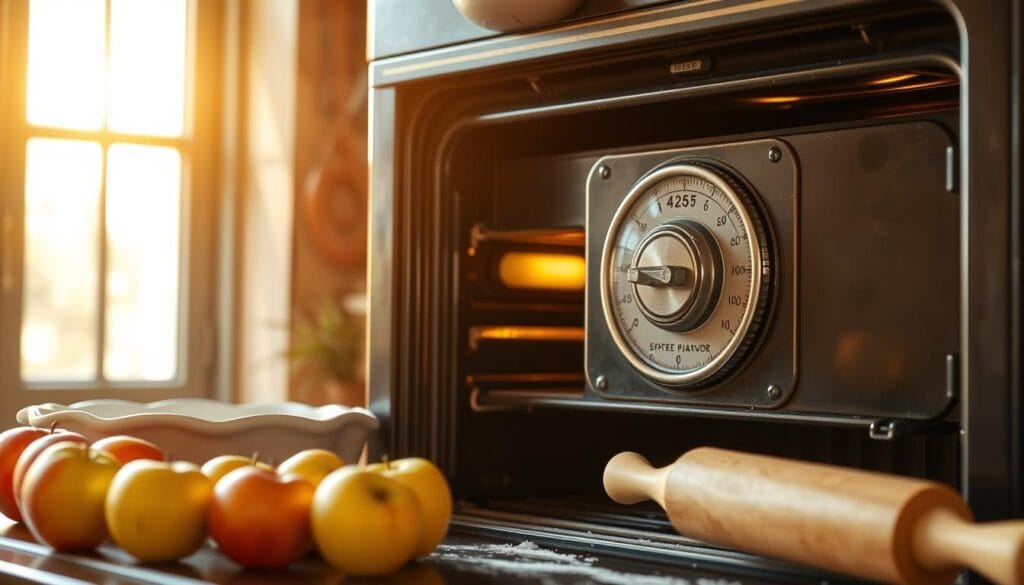
First, heat your oven to 400°F. Roll out one premade pie crust and press it into a 9-inch pie plate. Make sure it covers the bottom and sides well. Then, crimp the edges for a nice look.
Making the Filling
In a big bowl, mix sliced Granny Smith apples with flour, sugars, cinnamon, and lemon juice. Make sure the apples are well coated.
Assembly Instructions
- Pour the spiced apple mix into the pie crust, spreading it out.
- Put small butter cubes on top of the apples.
- Roll out the second pie crust and place it over the apples.
- Seal the edges by crimping them with your fingers.
- Brush the top with egg or milk. Cut four slits in the center for steam.
Put the apple pie on a baking sheet. Bake for 45 minutes, using a pie shield to prevent over-browning. When the crust is golden and the filling bubbles, your pie is ready!
Baking Tips and Temperature Guidelines
Getting the perfect apple pie starts with mastering the baking process. Follow these key pie baking tips and temperature guidelines for a flawless pie.
Bake your apple pie at 400°F. This high heat makes the crust flaky and golden. It also cooks the perfect apple pie filling just right. The baking time is about 45 minutes.
To stop the crust edges from getting too dark, use a pie shield or aluminum foil. Cover the edges for the last 15-20 minutes. This keeps the crust even and beautiful.
Watch your pie closely while it bakes. Adjust the time if your oven is different. You want a filling that’s perfectly cooked and a crust that’s flaky and golden.
“Baking the perfect apple pie is all about finding the right balance between a flavorful filling and a crisp, buttery crust.”
By following these baking temperature guidelines and tips, you’ll make a pie baking tips masterpiece. It will impress your friends and family.

Proper Cooling and Storage Methods
Proper cooling and storage are key for your freshly baked apple pie. They help keep the pie’s flavor and texture perfect. By following these steps, your pie will stay delicious for days.
Cooling Time Requirements
Let your apple pie cool for at least 3 hours before cutting. This step is vital to avoid a watery filling and a crumbling crust. Don’t cover the pie while it’s warm to prevent a soggy crust. Cover it only after it has cooled completely.
Storage Best Practices
- Refrigerate the pie overnight for the best taste. It helps the filling set and the flavors meld.
- At room temperature, the pie stays fresh for up to 2 days. Refrigeration extends this to 4 days.
- To reheat a slice, microwave it for 20-30 seconds until warm.
Shelf Life Tips
Your apple pie can last several days with proper storage. It stays fresh for 2 days at room temperature. Refrigeration extends this to 4 days. For longer storage, freeze it for 3-4 months.
By following these cooling and storage tips, your homemade apple pie will stay delicious. Enjoy it for days to come.
Common Mistakes to Avoid When Making Apple Pie
Baking the perfect apple pie is a joy, but even experts can make mistakes. Here are some apple pie mistakes to avoid for a great pie:
- Not Allowing Proper Cooling Time: Cutting into the pie too soon can make it runny. Wait until it cools down completely before you slice it.
- Covering the Pie While Warm: Covering a warm pie can make it soggy. It’s better to let it cool without a cover.
- Using Thick Apple Slices: Thick apple slices can mess up the pie’s texture. Try to slice them thinner.
- Neglecting the Pie Shield: Without a pie shield, the crust edges can get too dark. This can make the pie taste bitter.
Follow the recipe closely and use some baking tips and troubleshooting. This way, you can avoid these mistakes and get a perfect apple pie every time.
“Patience is the key when it comes to baking the perfect apple pie. Take the time to let it cool completely before slicing, and you’ll be rewarded with a delightful, well-set filling.”
Conclusion
This easy apple pie recipe with a premade crust is perfect for those who want homemade taste without the hassle. It’s simple to follow and makes a delicious, classic American dessert. It’s great for any occasion, whether it’s a holiday or a cozy family dinner.
The premade crust saves you time but still lets you enjoy the taste of a homemade pie. The guide and instructions help you make a pie that’s always delicious. This easy apple pie recipe is a must-have for anyone who loves classic American desserts.
Give this easy apple pie recipe a try. With the right ingredients and a bit of care, you’ll make a treat that everyone will love. Enjoy making it, relish the taste, and be proud of your homemade dessert.

