Homemade Cherry Pie Filling: Easy Recipe & Tips
Table of Contents
As summer fades, the cherries from the farmer’s market remind us of the season’s joy. This homemade cherry pie filling recipe lets you enjoy those cherries all year. It’s a sweet treat that will make your taste buds happy.
Whether you’re a pie pro or just starting out, this guide makes it easy. You’ll learn how to make a thick, syrupy filling for pies, tarts, and more. With a few tips, you’ll turn fresh cherries into a masterpiece that everyone will love.
Capturing the Essence of Summer Cherries
Cherries are a quintessential summer fruit, bursting with sweet-tart flavor and vibrant color. Making a homemade fresh cherries pie filling lets you enjoy summer’s taste all year. This recipe works with both sweet cherries and tart cherries, highlighting the fruit’s natural beauty and flavor.
The secret to a great cherry-flavored pie filling is using high-quality cherries. Look for plump, shiny cherries with deep, rich colors during cherry season. Sour or tart cherries are best for pies, offering a perfect balance of sweetness and acidity.
With the right techniques and patience, you can make a cherry baking masterpiece. This recipe guides you to create a fresh cherries pie filling that captures summer’s essence. It will take your favorite desserts to new heights.
“Cherries are the perfect summer fruit, bursting with a sweet-tart flavor that just can’t be beat. This homemade pie filling is a must-try for anyone who loves the taste of fresh cherries.”
Ingredients and Tools Needed
To make homemade cherry pie filling, you need the right ingredients and tools. The right equipment helps get the perfect texture and flavor. You’ll need tools for pitting the cherries and thickening the filling.
Fresh Cherries: Sweet or Tart?
First, decide between sweet or tart cherries for your filling. Sweet cherries make the filling rich and indulgent. Tart cherries give it a vibrant, tangy taste. It’s up to you to choose what you like best.
Essential Kitchen Tools for Cherry Pitting
- A cherry pitter is key for quick and easy cherry pitting. It saves time and effort compared to doing it by hand.
- Without a cherry pitter, a paperclip or a strong straw can help remove pits one at a time.
- A paring knife can also pit cherries, but it takes more skill.
With your cherry ingredients and pitting tools ready, you can start making your homemade cherry pie filling. Make sure you have all the right tools for a smooth cooking process.
Step-by-Step Instructions
Making your own cherry pie filling is easy and rewarding. Follow these simple steps to capture the essence of summer cherries. You’ll create a flavorful filling that will make your baked goods stand out.
Preparing the Cherries
Start by pitting your fresh cherries. You can use a cherry pitter or do it by hand. You’ll need about 6 cups of sweet cherries for the filling.
Cooking the Filling
- In a medium saucepan, mix the pitted cherries, 3/4 cup of water, 1 1/2 tablespoons of lemon juice, 3/4 cup of granulated sugar, and 1/4 cup of cornstarch.
- Simmer the mixture over medium heat, stirring often, until it thickens and turns syrupy. This should take about 10-15 minutes.
- Take the pan off the heat and add 1/4 teaspoon of vanilla extract.
- Let the cherry pie filling cool a bit before using it in your recipes.
To get the perfect consistency, cook the filling until it’s just right. The cornstarch makes the filling thick and luscious. This texture is perfect for pies, tarts, and other desserts.
With these easy steps, you’ll have a delicious homemade cherry pie filling. It highlights the natural sweetness and tartness of cherries. Use this versatile filling to enhance your baking and enjoy summer flavors all year.
Thickening Secrets for the Perfect Consistency
Getting the right consistency for your homemade thickening cherry pie filling is key. This recipe uses smart thickening methods. It makes the filling thick, syrupy, and just right, without being too gooey or runny.
The secret to the perfect consistency is using cornstarch in cherry filling wisely. Mixing cornstarch with cherry juice makes the filling smooth and luscious. But, don’t add too much cornstarch, or it will be gummy.
Another crucial step is reducing cherry juice on the stovetop. Simmering the juice concentrates the flavors and thickens it. This, along with cornstarch, ensures your filling is just right.
| Thickening Technique | Benefits |
|---|---|
| Cornstarch in cherry filling | Helps the filling thicken and achieve a smooth, syrupy texture. |
| Reducing cherry juice | Concentrates the flavors and removes excess liquid, resulting in a thicker filling. |
By using these simple thickening secrets, you’ll get a cherry pie filling that’s not only tasty but also has the perfect consistency for your baking.
Versatile Uses for Homemade Cherry Pie Filling
Homemade cherry pie filling is great for more than just cherry pie. It can make many desserts better, like tarts, turnovers, cakes, and ice cream. This filling adds a burst of flavor to your baking.
Pies, Tarts, and Beyond
Homemade cherry pie filling is perfect for cherry pie. But it’s also good for other pastries. Here are some ideas:
- Cherry tarts with a buttery crust
- Cherry turnovers or hand pies for a portable treat
- Cherry-topped cheesecakes or cream pies
- Cherry-stuffed crêpes or blintzes for a breakfast or brunch indulgence
With homemade cherry pie filling, you can make many delicious treats.
Cakes, Cookies, and More
Don’t just stick to pie. Try using cherry pie filling in other baked goods. Here are some ideas:
- Swirl the filling into chocolate cake batter for a Black Forest-inspired dessert
- Use it as a filling for sandwich cookies or whoopie pies
- Fold it into pancake or waffle batter for a fun weekend breakfast
- Top ice cream, frozen yogurt, or gelato with a drizzle of the sweet-tart filling
With a little creativity, you can make many sweet treats better. Try new things and find your favorite ways to use cherry pie filling.
“The possibilities are endless when you have a delicious batch of homemade cherry pie filling on hand.”
Make-Ahead and Storage Tips
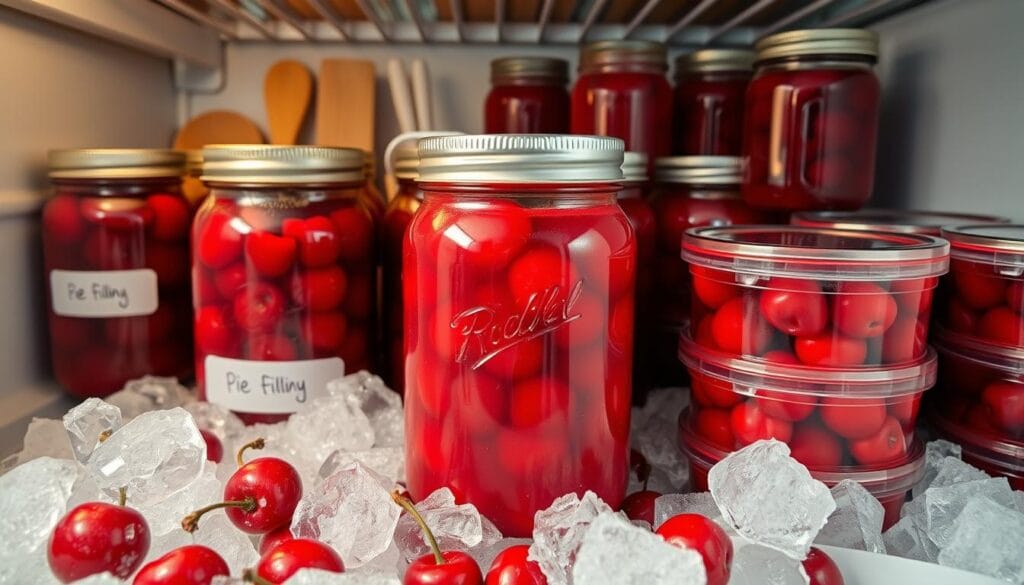
This homemade cherry pie filling is super versatile. You can make it ahead and store it for later. This way, you always have a filling ready when you need it. Let’s look at how to refrigerate and freeze it.
Refrigerating Cherry Filling
For a short time, keep the cherry pie filling in the fridge for up to a week. Just put the cooled filling in an airtight container and chill it. It’s perfect for making ahead for your next pie or tart. If it gets a bit thick, just stir it to make it smooth again.
Freezing Cherry Filling
To keep your cherry pie filling longer, freeze it. It can stay frozen for up to 3 months. Cool the filling completely, then put it in a freezer-safe container or bag. When you’re ready, thaw it in the fridge overnight. It might be a bit thicker because of the honey, but heating it up will fix that.
| Storage Option | Shelf Life | Preparation Needed |
|---|---|---|
| Refrigerator | Up to 1 week | Transfer to airtight container |
| Freezer | Up to 3 months | Transfer to freezer-safe container or bag |
With these simple make-ahead and storage tips, you’ll always have delicious cherry pie filling ready. Whether you’re baking a pie, tarts, or other cherry desserts, you’re set.

homemade cherry pie filling
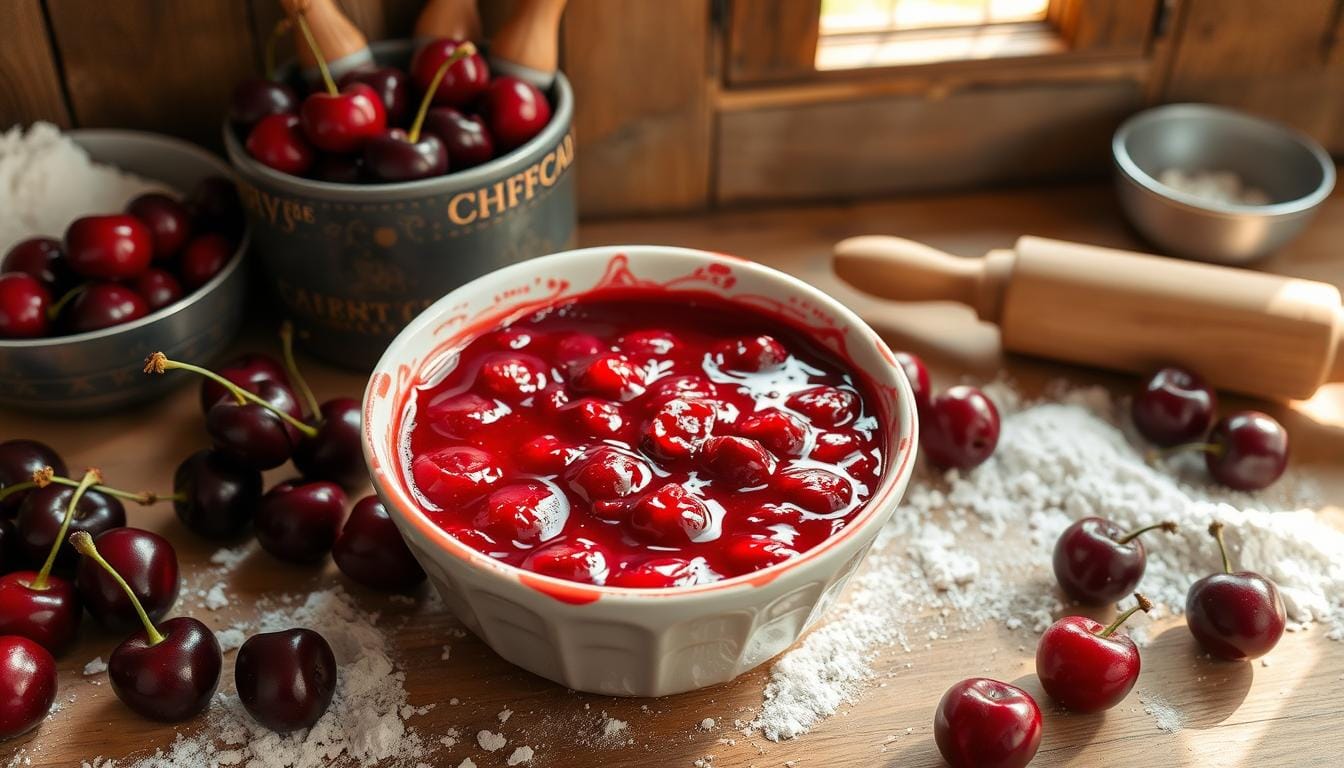
Making a delicious cherry pie starts with the filling. This homemade cherry pie filling recipe is easy and makes a thick, tasty base. It’s perfect for classic pies or new recipes.
With a few simple ingredients, you can make this easy cherry filling recipe. It’s colorful, sweet, and tart. Your taste buds will love it.
| Ingredient | Quantity |
|---|---|
| Cherry juice | 2 cups |
| Sugar | 1 cup |
| Cornstarch | 1/4 cup |
| Cinnamon | 1/2 teaspoon |
| Red food coloring (optional) | 1/2 teaspoon |
| Almond extract | 1/2 teaspoon |
| Fresh or frozen sweet cherries | 4 cups |
This homemade cherry pie filling is quick to make, just 10 minutes. It’s thick and luxurious, making your baked goods even better.
Use fresh or frozen cherries for this recipe. The almond extract adds a nice flavor that goes well with the cherries.
This homemade cherry pie filling lasts 3-4 days in the fridge or up to three months in the freezer. It’s great for all your cherry desserts.
“This homemade cherry pie filling is a game-changer! The perfect balance of sweet and tart, with a luxurious texture that elevates any dessert.”
Baking with Fresh or Frozen Cherries
You can use fresh or frozen cherries for your homemade cherry pie filling. Both options are delicious, so pick what you like best or what’s available.
For fresh cherries, make sure to pit and prepare them as the recipe says. It has a 4.94 out of 5 rating from 33 votes. It promises great flavor. The whole process, including chilling and cooling, takes about 3 hours and 5 minutes.
Frozen cherries are also a good choice. Just follow the recipe, and the filling will be thick and tasty. You’ll need 2 pounds of pitted cherries, fresh or frozen, for one 9-inch pie.
No matter the cherry type, try different cherry pie filling variations. The filling has the right mix of sugar, cornstarch, and spices for a wonderful taste.
“This homemade cherry pie filling is a game-changer! I’ve used both fresh and frozen cherries, and the results are always incredible.”
So, whether you have fresh cherries or need to use frozen ones, this recipe is a great choice for your baking.

Flavor Variations and Enhancements
The classic cherry pie filling is already tasty. But, you can make it even better by adding special ingredients. Try adding spices, extracts, or citrus zests to your homemade filling. This will make the cherries taste even sweeter.
Spices, Extracts, and Zests to Try
- Spices: Adding a bit of cinnamon or nutmeg can warm up your cherry pie filling flavors.
- Extracts: A little almond extract or vanilla extract can enhance the cherry flavor and add depth.
- Citrus Zests: Mixing in some lemon or orange zest can brighten the flavors and add a tangy twist.
These simple ingredients can elevate your homemade cherry pie filling. They let you explore different flavor variations and make your creations unique.
“The beauty of homemade cherry pie filling is the ability to tailor it to your unique tastes. Experiment with different spices, extracts, and zests to discover your perfect flavor profile.”
Conclusion
Homemade cherry pie filling is a must-have for making tasty cherry desserts. This simple recipe shows you how to make a thick, flavorful filling. It’s perfect for pies, tarts, and many other easy cherry desserts.
Whether you like the tartness of sour cherries or the sweetness of fresh or frozen sweet dark cherries, this recipe is for you. It’s easy to make and can be used in many ways. You’ll learn how to make it just right and even try new flavors.
Try mixing rich chocolate with sweet cherries, or find your own favorite combination. This filling will make your cherry pie recipe and other desserts even better. Enjoy the fresh taste of homemade cherry pie filling all year.

