How to make a cherry pie
Table of Contents
The smell of a cherry pie baking is unforgettable. It brings back many happy memories. The sweet filling and flaky crust are especially comforting.
If you want to make your own cherry pie, you’re in the right spot. We’ll show you how to make a pie that will impress everyone. Get ready to enjoy a delicious homemade treat.

Essential Ingredients for Your Cherry Pie
Making a tasty cherry pie begins with picking the right ingredients. You’ll need fresh or frozen cherries, sugar, cornstarch, lemon juice, and extracts. Let’s dive into each of these key elements.
Fresh vs. Frozen Cherry Options
Fresh cherries are the top pick for their lively taste and texture. But, frozen cherries can be a good substitute if needed. Make sure to thaw and drain frozen cherries well before adding them to the filling. This step prevents a soggy crust and keeps the filling just right.
Selecting the Right Type of Cherries
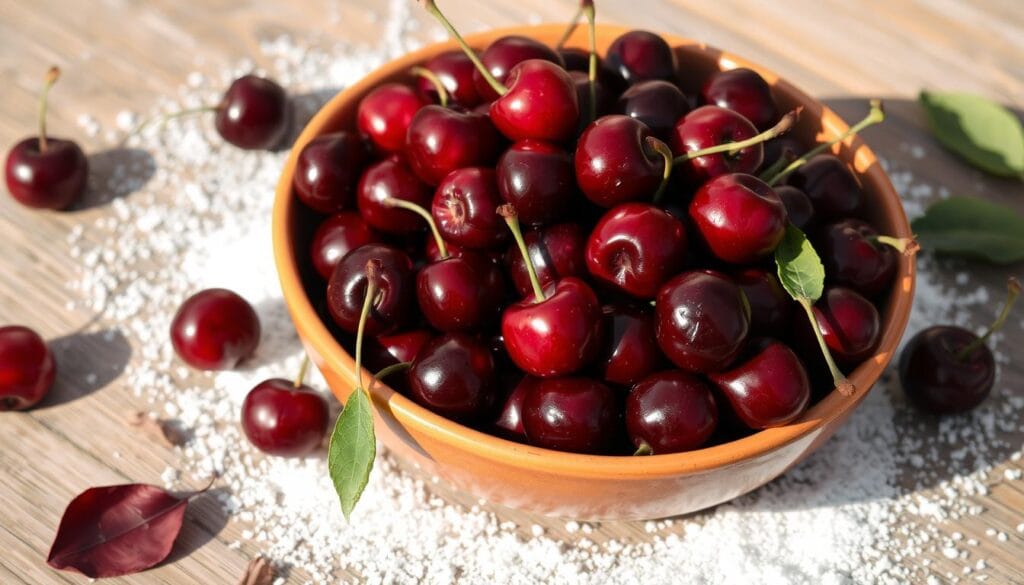
Both sweet and tart cherries are great for a cherry pie. Mixing them together is the best way to get a balanced taste. Cherries like Bing and Rainier are perfect for this recipe.
Additional Ingredients and Their Purpose
- Sugar: It makes the cherries sweeter and helps the filling get that jammy texture.
- Cornstarch: This thickener is key for the right consistency in the filling, avoiding it from being too runny.
- Lemon Juice: A bit of lemon juice adds a nice tartness that enhances the pie’s flavor.
- Vanilla and Almond Extracts: These add a warm, comforting aroma that complements the cherries.
- Butter: A small amount of unsalted butter can make the filling richer and more flavorful.
With the right mix of these ingredients, you can make a cherry pie that looks great and tastes amazing.
How to Make a Cherry Pie: Step-by-Step Instructions
Making a cherry pie is a fun journey for any baker. This guide will help you make a delicious cherry pie. You’ll learn how to bake cherry pie from start to finish.
- Prepare the Pie Crust: First, make your pie crust or use a store-bought one. Chill the dough for 30 minutes before rolling it out.
- Make the Cherry Filling: In a big bowl, mix 7 cups of frozen sweet pitted cherries, 1/2 cup of granulated sugar, 1/3 cup of tart cherry juice, 2 tablespoons of fresh squeezed lemon juice, 2 tablespoons of quick-cooking tapioca, and a pinch of coarse kosher salt. Let it sit for 15 minutes.
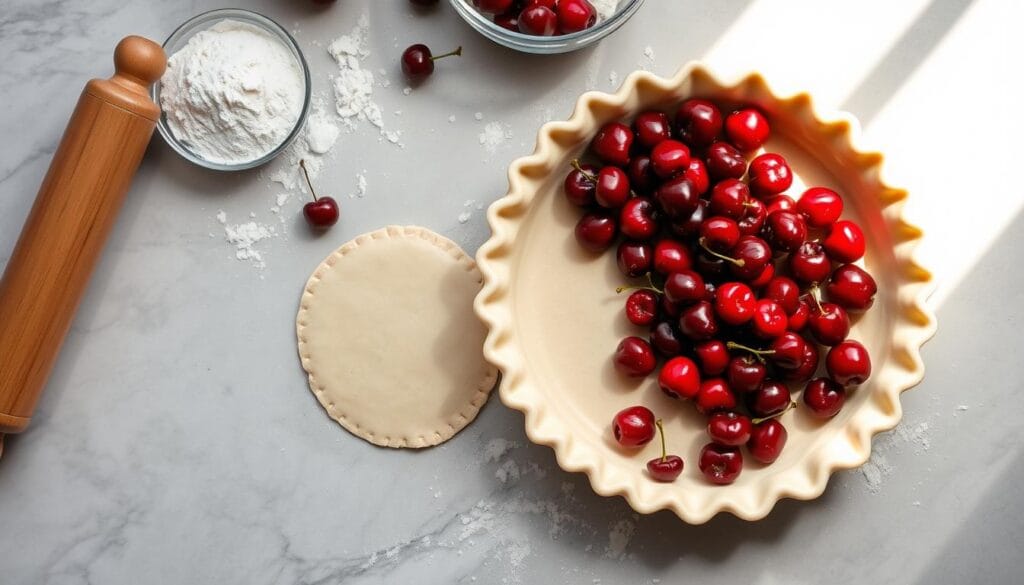
- Assemble the Pie: Roll out the bottom crust and put it in a 9-inch pie dish. Fill it with the cherry mixture and dot the top with butter.
- Add the Top Crust: Roll out the rest of the dough for a lattice top or a full top crust. Crimp the edges to seal the pie.
- Bake the Pie: Heat your oven to 425°F. Bake the cherry pie for 15 minutes, then lower the heat to 375°F. Bake for another 1 hour, or until the filling bubbles and the crust is golden.
- Cool and Serve: Let the fruit pie cool for at least 8 hours before slicing. This ensures the filling sets right.
By following these steps, you’ll make a cherry pie recipe that looks great and tastes amazing. Enjoy your homemade baking cherry pie with loved ones. The sweet, juicy flavor of this classic dessert is sure to delight.
Crafting the Perfect Pie Crust
The crust is the heart of your cherry pie. The debate between butter and shortening is well-known. Butter gives a rich, flaky texture and amazing flavor. Shortening makes the dough tender and easy to work with. For the best homemade crust, mix both.
Rolling and Shaping Techniques
Start by rolling out your dough. To get a 12-inch circle, turn it regularly and handle it gently. Don’t overwork the dough to avoid a tough crust. Place the dough in your pie dish, pressing it into the corners and edges for a perfect fit.
Pre-baking Tips
For this cherry pie, you don’t need to pre-bake the crust. The long baking time and less filling will cook the crust well. But, if you want a crisper base, blind bake the crust first.
“The perfect pie crust is the foundation for any great pie, and with a little practice, you can master the art of homemade pie crust techniques.” – Julia Child, renowned chef and author
Preparing Your Cherry Filling
The secret to a delicious cherry pie filling is in how you prepare the cherries. Begin by collecting 4 cups of fresh, ripe sweet cherries. This is about 2 pounds with pits or 1.5 pounds without pits or frozen, thawed cherries. Make sure to remove the pits carefully, either by hand or with a cherry pitter. This step is crucial for a smooth, homemade fruit filling.
In a saucepan, mix the pitted cherries with ¼ cup of cornstarch, 1 tablespoon of lemon juice, and 1 teaspoon each of vanilla and almond extracts. Gently stir the mixture to release the cherries’ natural juices. Let it sit for 15-20 minutes to allow the flavors to blend.
Then, move the cherry mixture to the saucepan and cook over medium heat. Stir occasionally until the filling thickens and bubbles, which should take about 5-7 minutes. Avoid overcooking to prevent a runny filling. Once it reaches the right consistency, remove it from the heat. Let the cherry pie filling cool completely before using it in your pie.

To make your homemade fruit filling even better, add a few tablespoons of honey or pure maple syrup. This will adjust the sweetness to your liking. The natural sweetness will enhance the sweet-tart cherries, creating a perfect balance in your pie.
Mastering the Art of Cherry Pitting
Creating the perfect cherry pie starts with pitting cherries. Whether using fresh or frozen cherries, removing the pits is key. It greatly improves the filling’s texture and quality.
Tools and Methods
A cherry pitter is a must-have for efficient pitting. These tools quickly and cleanly remove pits. If you don’t have one, a chopstick or pressing the fruit against a small piping tip works too.
Time-saving Techniques
Manual pitting can be slow, especially with lots of cherries. For quicker work, try frozen pitted cherries. They save time but might change the pie’s texture slightly.
| Method | Efficiency | Texture Impact |
|---|---|---|
| Cherry Pitter | High | Minimal |
| Manual (Chopstick/Piping Tip) | Moderate | Minimal |
| Frozen Pitted Cherries | High | Moderate |
Your choice of pitting method depends on your time and preference. The most important thing is to remove pits carefully. This ensures a smooth, tasty cherry pie filling.
Assembling Your Pie Like a Professional
Making your homemade cherry pie perfect is all about how you put it together. From the bottom crust to the final touches, each step is key. These steps will make your cherry pie stand out.
Start by putting your bottom pie crust in the dish. Make sure it fits well and has no air pockets. Then, use a slotted spoon to put the pre-cooked cherry filling in the crust. Don’t pour in extra juices.
Drizzle the reduced cherry juices over the filling. This adds flavor to the cherries.
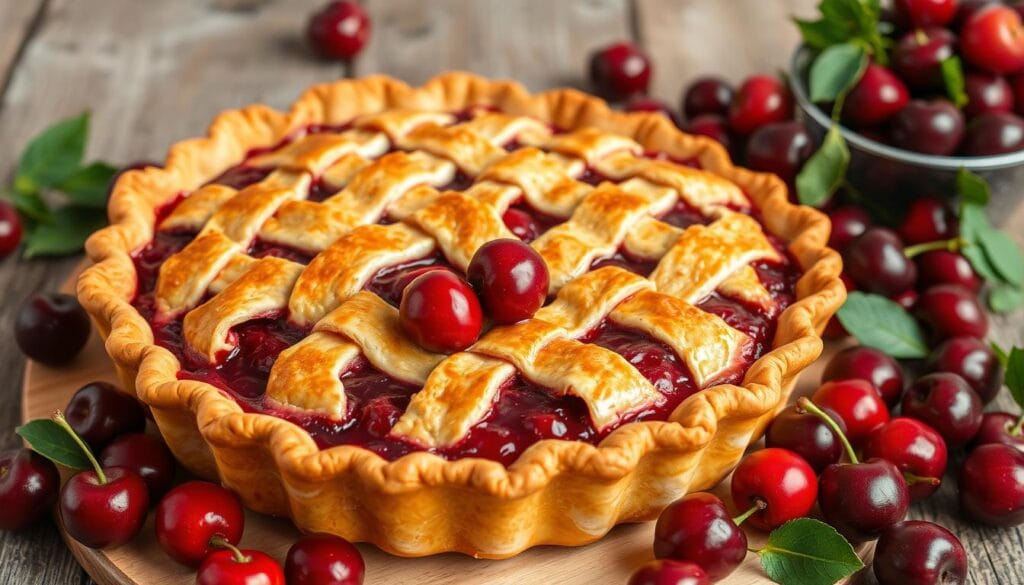
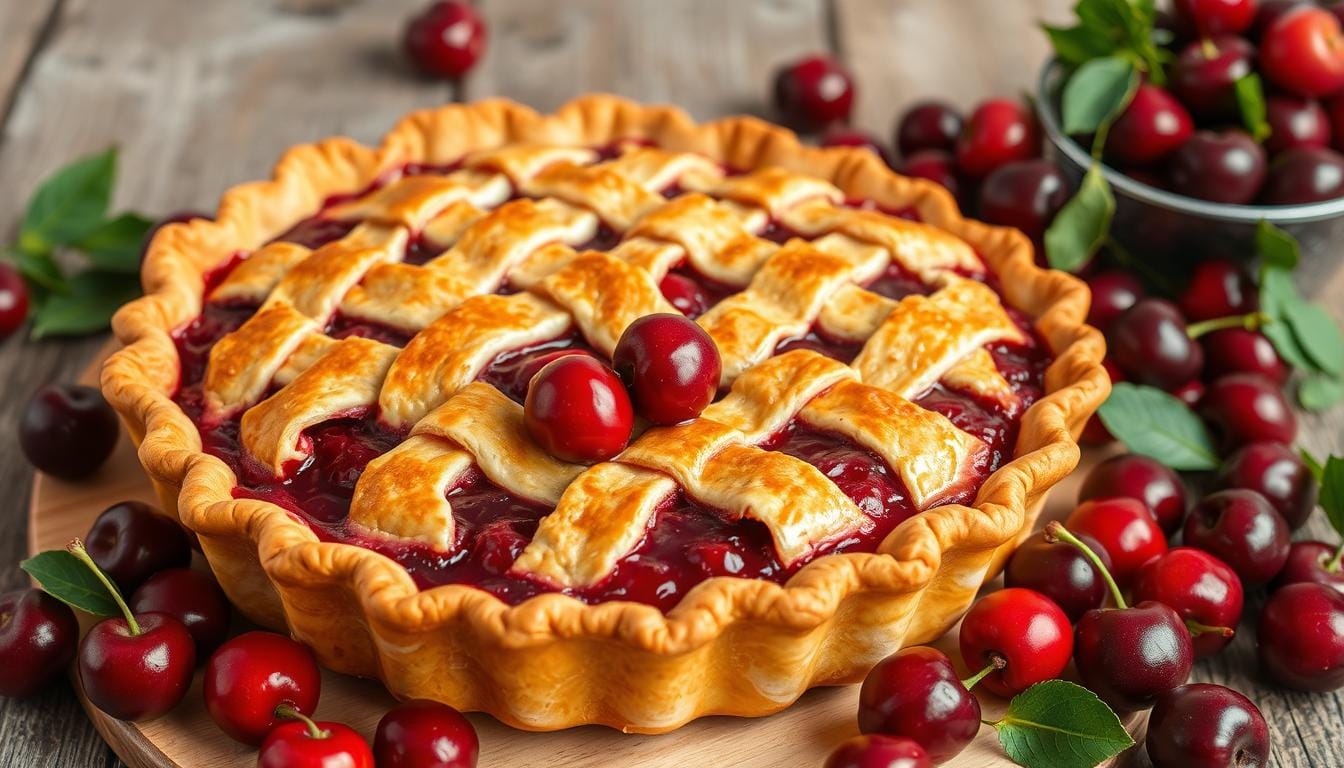
Now, it’s time for the top crust. You can use a full top crust or a lattice design. For a lattice, weave dough strips over the filling in a criss-cross pattern.
Whether you choose a full crust or a lattice, seal the edges. Use a crimp or flute to keep the filling inside. Brush the top with an egg wash for a golden look. Sprinkle coarse sugar on top for extra crunch.
“The key to a truly remarkable cherry pie lies in the attention to detail during the assembly process. Each step, from the bottom crust to the final flourishes, contributes to the overall wow factor.”
With these pie assembly tips, you’re on your way to pie mastery. Enjoy making a cherry pie that tastes amazing and impresses your guests.

Lattice Top Creation and Decorative Techniques
Make your cherry pie look amazing with a lattice top. This method uses pie dough strips to cover the filling, making the crust light and airy. You can choose a traditional lattice or try something new for a unique look.
Traditional Lattice Pattern Guide
To make a classic lattice top, roll out the pie dough and cut it into long strips. Place half of the strips over the pie, then fold back every other one. Next, weave the other strips over and under the folded ones, making a criss-cross pattern.
Trim the extra dough, crimp the edges, and bake until it’s perfect.
Alternative Decorative Options
- Full Top Crust with Cutouts: Roll out the dough, cover the filling, and cut out shapes with cookie cutters or a knife. This lets the filling show through.
- Crumble Topping: Mix flour, sugar, butter, and spices for a tasty crumble topping. Sprinkle it over the pie.
- Shaped Dough Pieces: Cut out shapes like leaves or flowers from the dough. Arrange them on top of the filling for a creative look.
Try these lattice pie crust and pie decorating techniques to make your cherry pie special. Add a personal touch to your creative pie tops.
“The lattice top is a simple yet stunning way to elevate your cherry pie. It’s a classic technique that adds both visual interest and functional benefits, allowing steam to escape for a perfectly baked crust.”
Baking Temperature and Timing Guidelines
Making the perfect cherry pie is all about the baking process. You need the right temperature and timing for a flaky crust and tasty filling. Here are the steps to bake your cherry pie just right.
The pie starts at 400°F (204°C) for 20 minutes. This high heat sets the crust and helps the filling. Then, the temperature drops to 375°F (190°C) for 35-45 more minutes.
The pie takes about 55-65 minutes to bake. It’s done when the crust is golden and the filling bubbles. A glass pie dish helps see if the bottom crust is done.
Keep in mind, baking times can change based on your oven and ingredients. Watch your pie closely towards the end to avoid overcooking.
| Baking Stage | Temperature | Duration |
|---|---|---|
| Initial Baking | 400°F (204°C) | 20 minutes |
| Continued Baking | 375°F (190°C) | 35-45 minutes |
| Total Baking Time | – | 55-65 minutes |
By following these pie baking temperature and baking times guidelines, you’ll make a fruit pie baking masterpiece. It will impress your family and friends.
Storage and Serving Suggestions
Keeping your homemade cherry pie fresh is key to enjoying it fully. The right storage and serving methods help you enjoy its sweet and tart flavors for days.
For a short time, keep your pie at room temperature for up to 2 days. Refrigerating it for up to 5 days is better for longer storage. Freezing it for up to 3 months is the best option for long-term preservation.
Serving your pie with vanilla ice cream or whipped cream is a classic choice. This combo complements the pie’s rich filling, making it a treat for your taste buds. A simple slice of pie is also a great option.
If you have leftovers, reheat a slice in the oven at 350°F for a few minutes. This brings back the pie’s warmth and flaky crust, making each bite special.
Always let the pie cool completely before slicing. This ensures the filling sets right and stays perfect. With these tips, your homemade cherry pie will be a hit at any dessert table, enjoyed at room temperature, chilled, or warmed.
Troubleshooting Common Cherry Pie Problems
Baking the perfect cherry pie is a fun challenge. With a few tips, you can make sure your pie is perfect. We’ll look at how to fix soggy crusts and bubble-overs.
Preventing Soggy Bottom Crust
To stop a soggy crust, reduce the cherry filling’s moisture. Mix the cherries with lemon juice and tapioca flour. Let it sit for 15-20 minutes to soak up excess juices.
Baking the pie on a lower rack helps. It ensures even heat and a crisp crust.
Fixing Runny Filling Issues
For a runny filling, add more cornstarch or tapioca flour. These ingredients soak up cherry juices, making the filling set right. Cooking the filling a bit longer on the stovetop helps too.
Managing Bubble-overs
Bubble-overs happen when the filling spills out. Don’t overfill the pie. Leave an inch of space at the top for expansion.
Place a baking sheet on the lower rack to catch drips. If the top crust browns too fast, cover it with foil. This stops further browning.

